Genestack platform allows its users to upload large datasets to the cloud and keep them organized and format-free. In this guide, we'll import data from Merkin et al. 2012 experiment and show how Genestack makes this process fast and reliable.
Step 1: Uploading files
In File Manager click on Import button. There are 2 ways to upload data into the platform:
1. Use data from your computer. Select or drag-and-drop files.
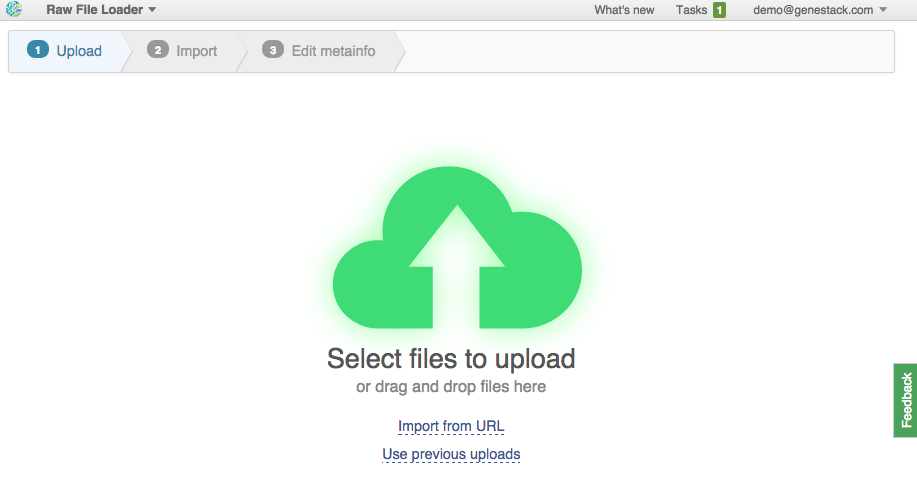
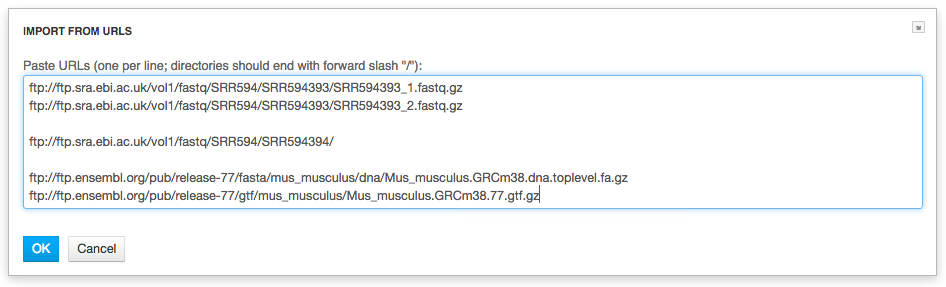
2. Upload from URLs (FTP or HTTP/HTTPS). Specify URLs for separate files or directories. This is what we're going to do. Click on the "Import URLs" and paste these files:
| ftp://ftp.sra.ebi.ac.uk/vol1/fastq/SRR594/SRR594393/SRR594393_1.fastq.gz |
| ftp://ftp.sra.ebi.ac.uk/vol1/fastq/SRR594/SRR594393/SRR594393_1.fastq.gz |
| ftp://ftp.sra.ebi.ac.uk/vol1/fastq/SRR594/SRR594394/ |
| ftp://ftp.sra.ebi.ac.uk/vol1/fastq/SRR594/SRR594395/ |
| ftp://ftp.sra.ebi.ac.uk/vol1/fastq/SRR594/SRR594419/ |
| ftp://ftp.sra.ebi.ac.uk/vol1/fastq/SRR594/SRR594420/ |
| ftp://ftp.sra.ebi.ac.uk/vol1/fastq/SRR594/SRR594421/ |
| ftp://ftp.ensembl.org/pub/release-77/fasta/mus_musculus/dna/Mus_musculus.GRCm38.dna.toplevel.fa.gz |
| ftp://ftp.ensembl.org/pub/release-77/gtf/mus_musculus/Mus_musculus.GRCm38.77.gtf.gz |
| ftp://ftp.ensembl.org/pub/release-77/fasta/rattus_norvegicus/dna/Rattus_norvegicus.Rnor_5.0.dna.toplevel.fa.gz |
| ftp://ftp.ensembl.org/pub/release-77/gtf/rattus_norvegicus/Rattus_norvegicus.Rnor_5.0.77.gtf.gz |
 Files are uploaded in multiple streams to increase upload speed.
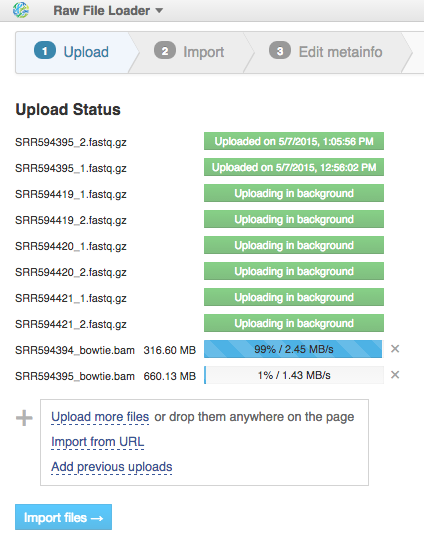 Click the "Import files" button to proceed.
 Step 2: Format recognition
After data is uploaded, Genestack automatically recognizes file formats and transforms them into biological data types: raw reads, mapped reads, reference genomes, etc. You won't have to worry about formats at all. Format conversions will be handled internally by Genestack.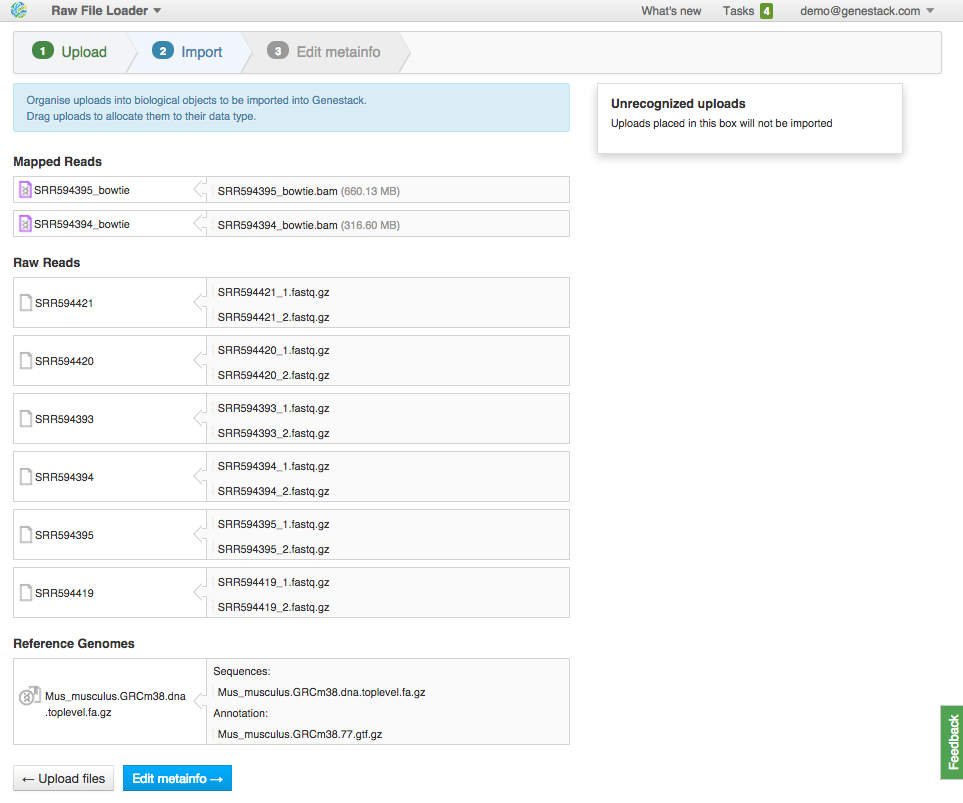 If files are not recognized or recognized incorrectly, you can manually allocate them to a specific data type using drag & drop. Click "Edit Metainfo" to proceed.
 Step 3: Editing metainfo
On this step, you can describe uploaded data using an Excel-like spreadsheet.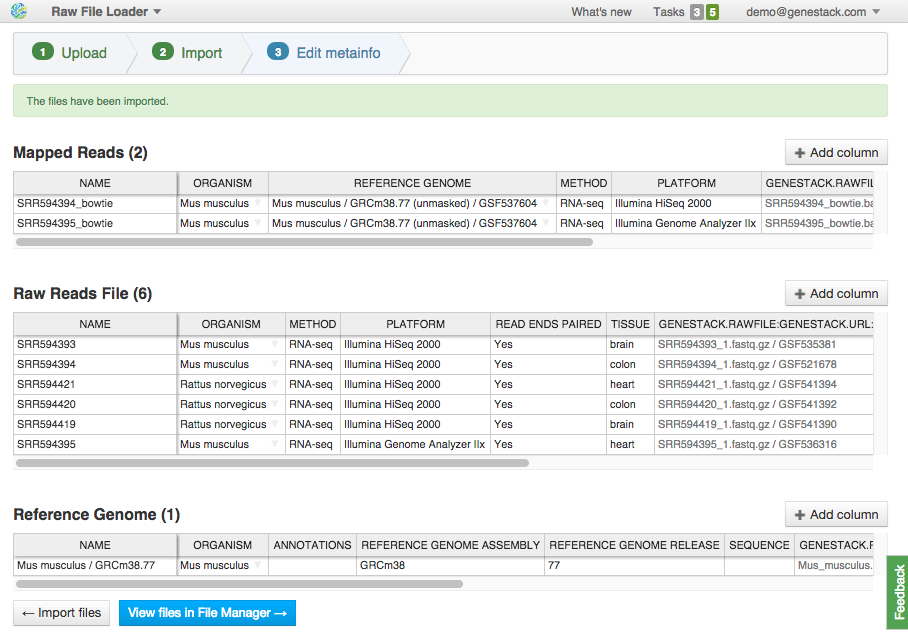 Edit file metainfo and add new columns, choosing from existing metainfo fields or creating new ones. Let's add a "Tissue" column. Click on the "Add column" button and choose "Tissue" from the dropdown:
 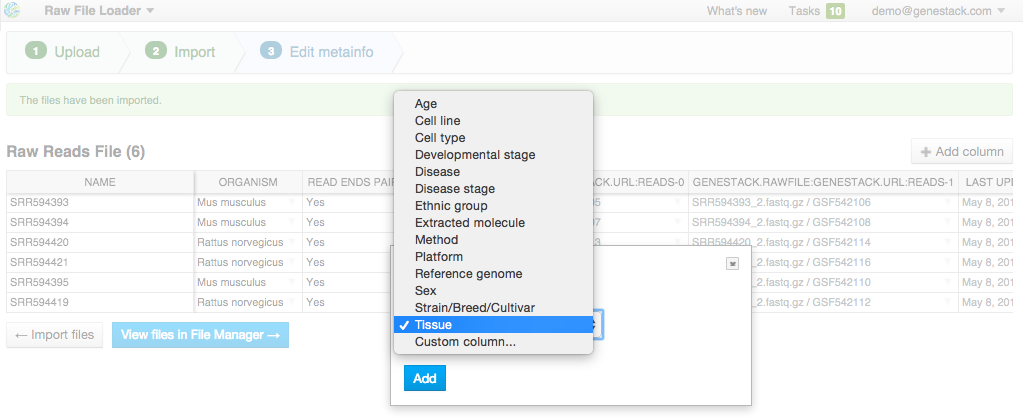 Add other metainfo fields and fill them according to the table below. It's important to fill the "organism" field so that your data is well-organized:
 | Name | Organism | Tissue |
|---|---|---|
| SRR594393 | Mus musculus | brain |
| SRR594394 | Mus musculus | colon |
| SRR594420 | Rattus norvegicus | colon |
| SRR594421 | Rattus norvegicus | heart |
| SRR594395 | Mus musculus | heart |
| SRR594419 | Rattus norvegicus | brain |
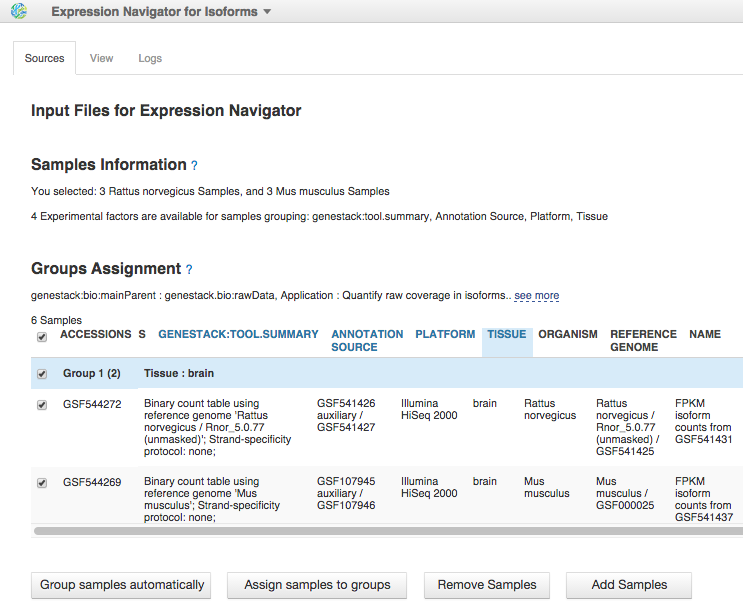 To reproduce this analysis, read our blog post about isoform expression analysis.
 More cool stuff:
If during uploading you lose your Internet connection, you will be able to resume unfinished uploads later. In addition to uploading your own data, you have free access to public data imported from SRA, GEO, ENA and other databases. They are located in the folder Public experiments. It even has the experiment used in this guide (including all metadata).
 Try Genestack import and let us know what you think about it. Please comment and report bugs below or via email support@genestack.com.